The Case Evolution - Part 2
Well, we’ve finalized the design for our current cylindrical prototype, and wanted to share the iterating we went through to achieve the final result.
Our first version was just a prototype of 3D printing screw threads, much smaller than it was eventually going to be. The male piece was much too small relative to the female piece, causing the case to fit together without any actual threads being engaged.
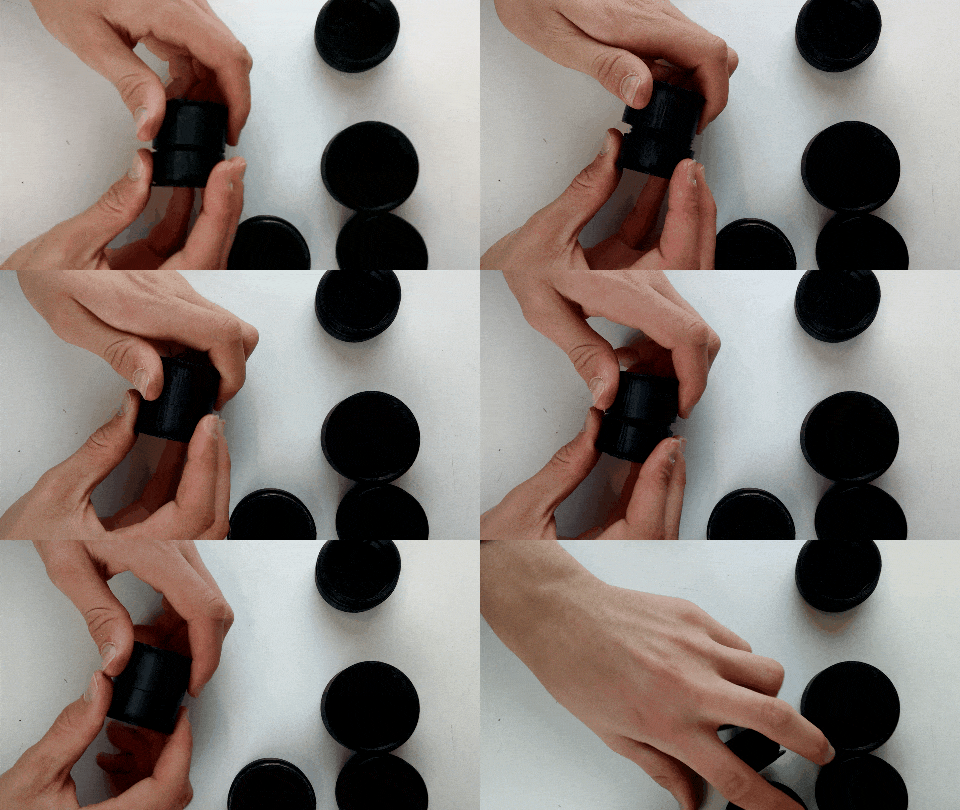
The next iteration was full size, but didn’t screw together. The tolerances and design were off on this one–it was too tight.
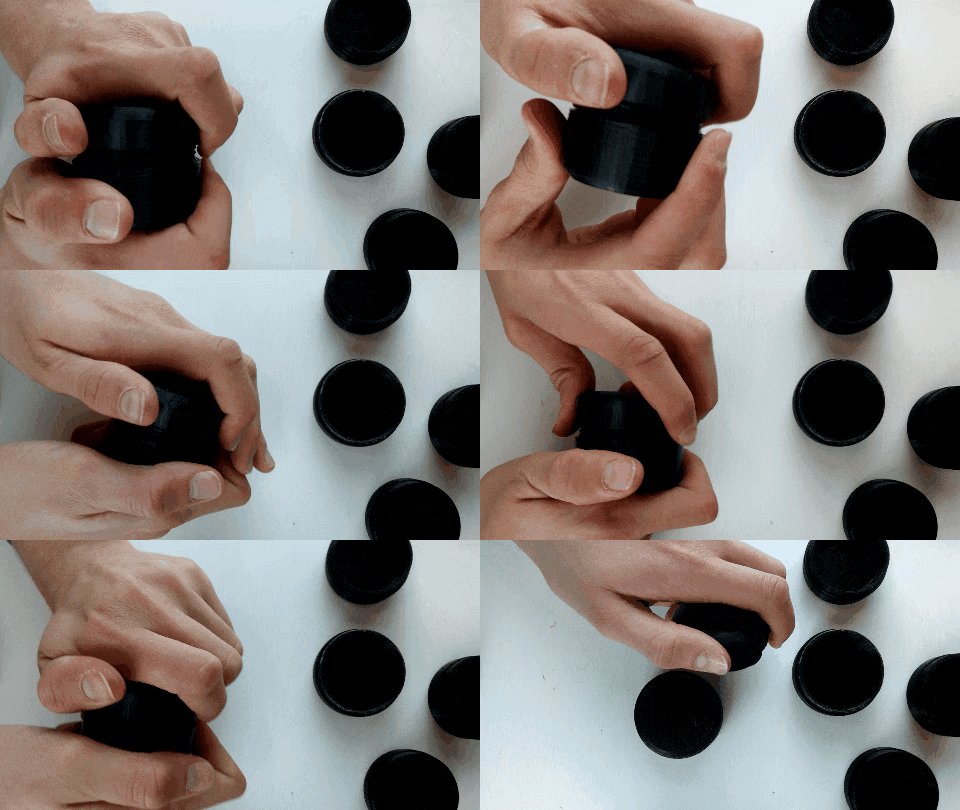
A few more hours of tweaking yielded another design. With a bit of lubricant (olive oil), our third iteration screwed together, but the initial action was clunky–it took a few tries to get the first bit of thread to engage.
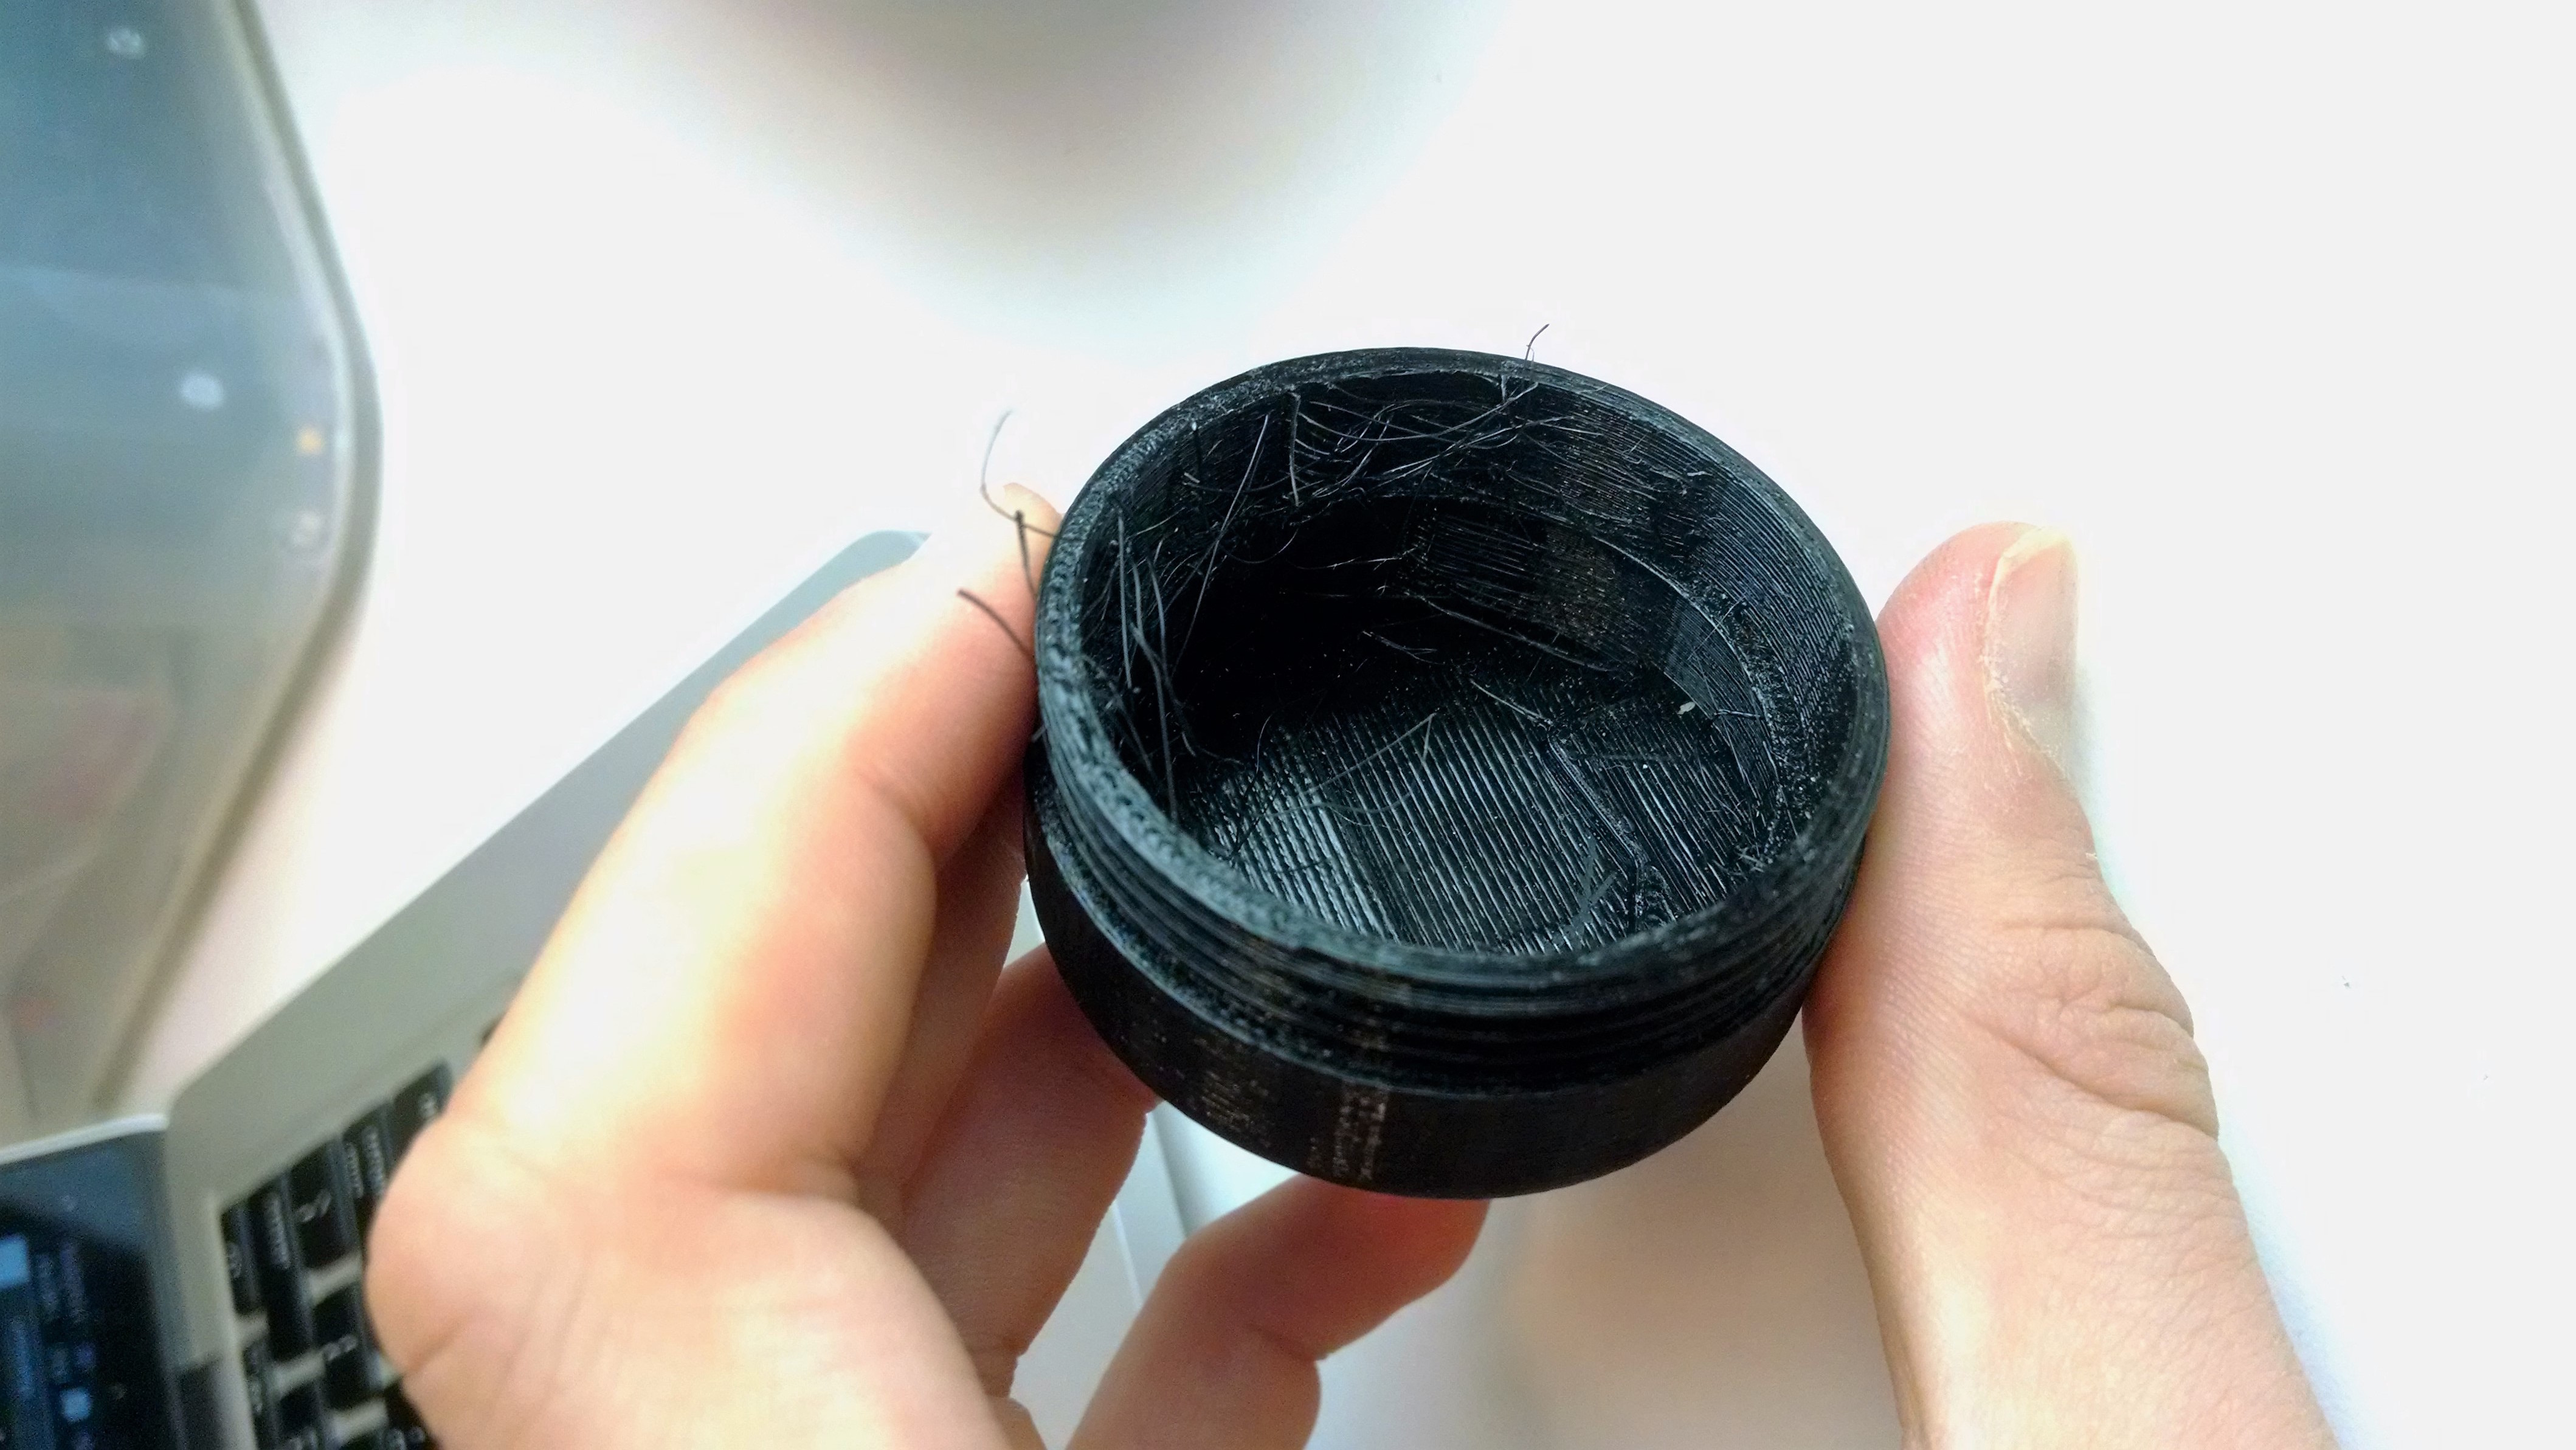
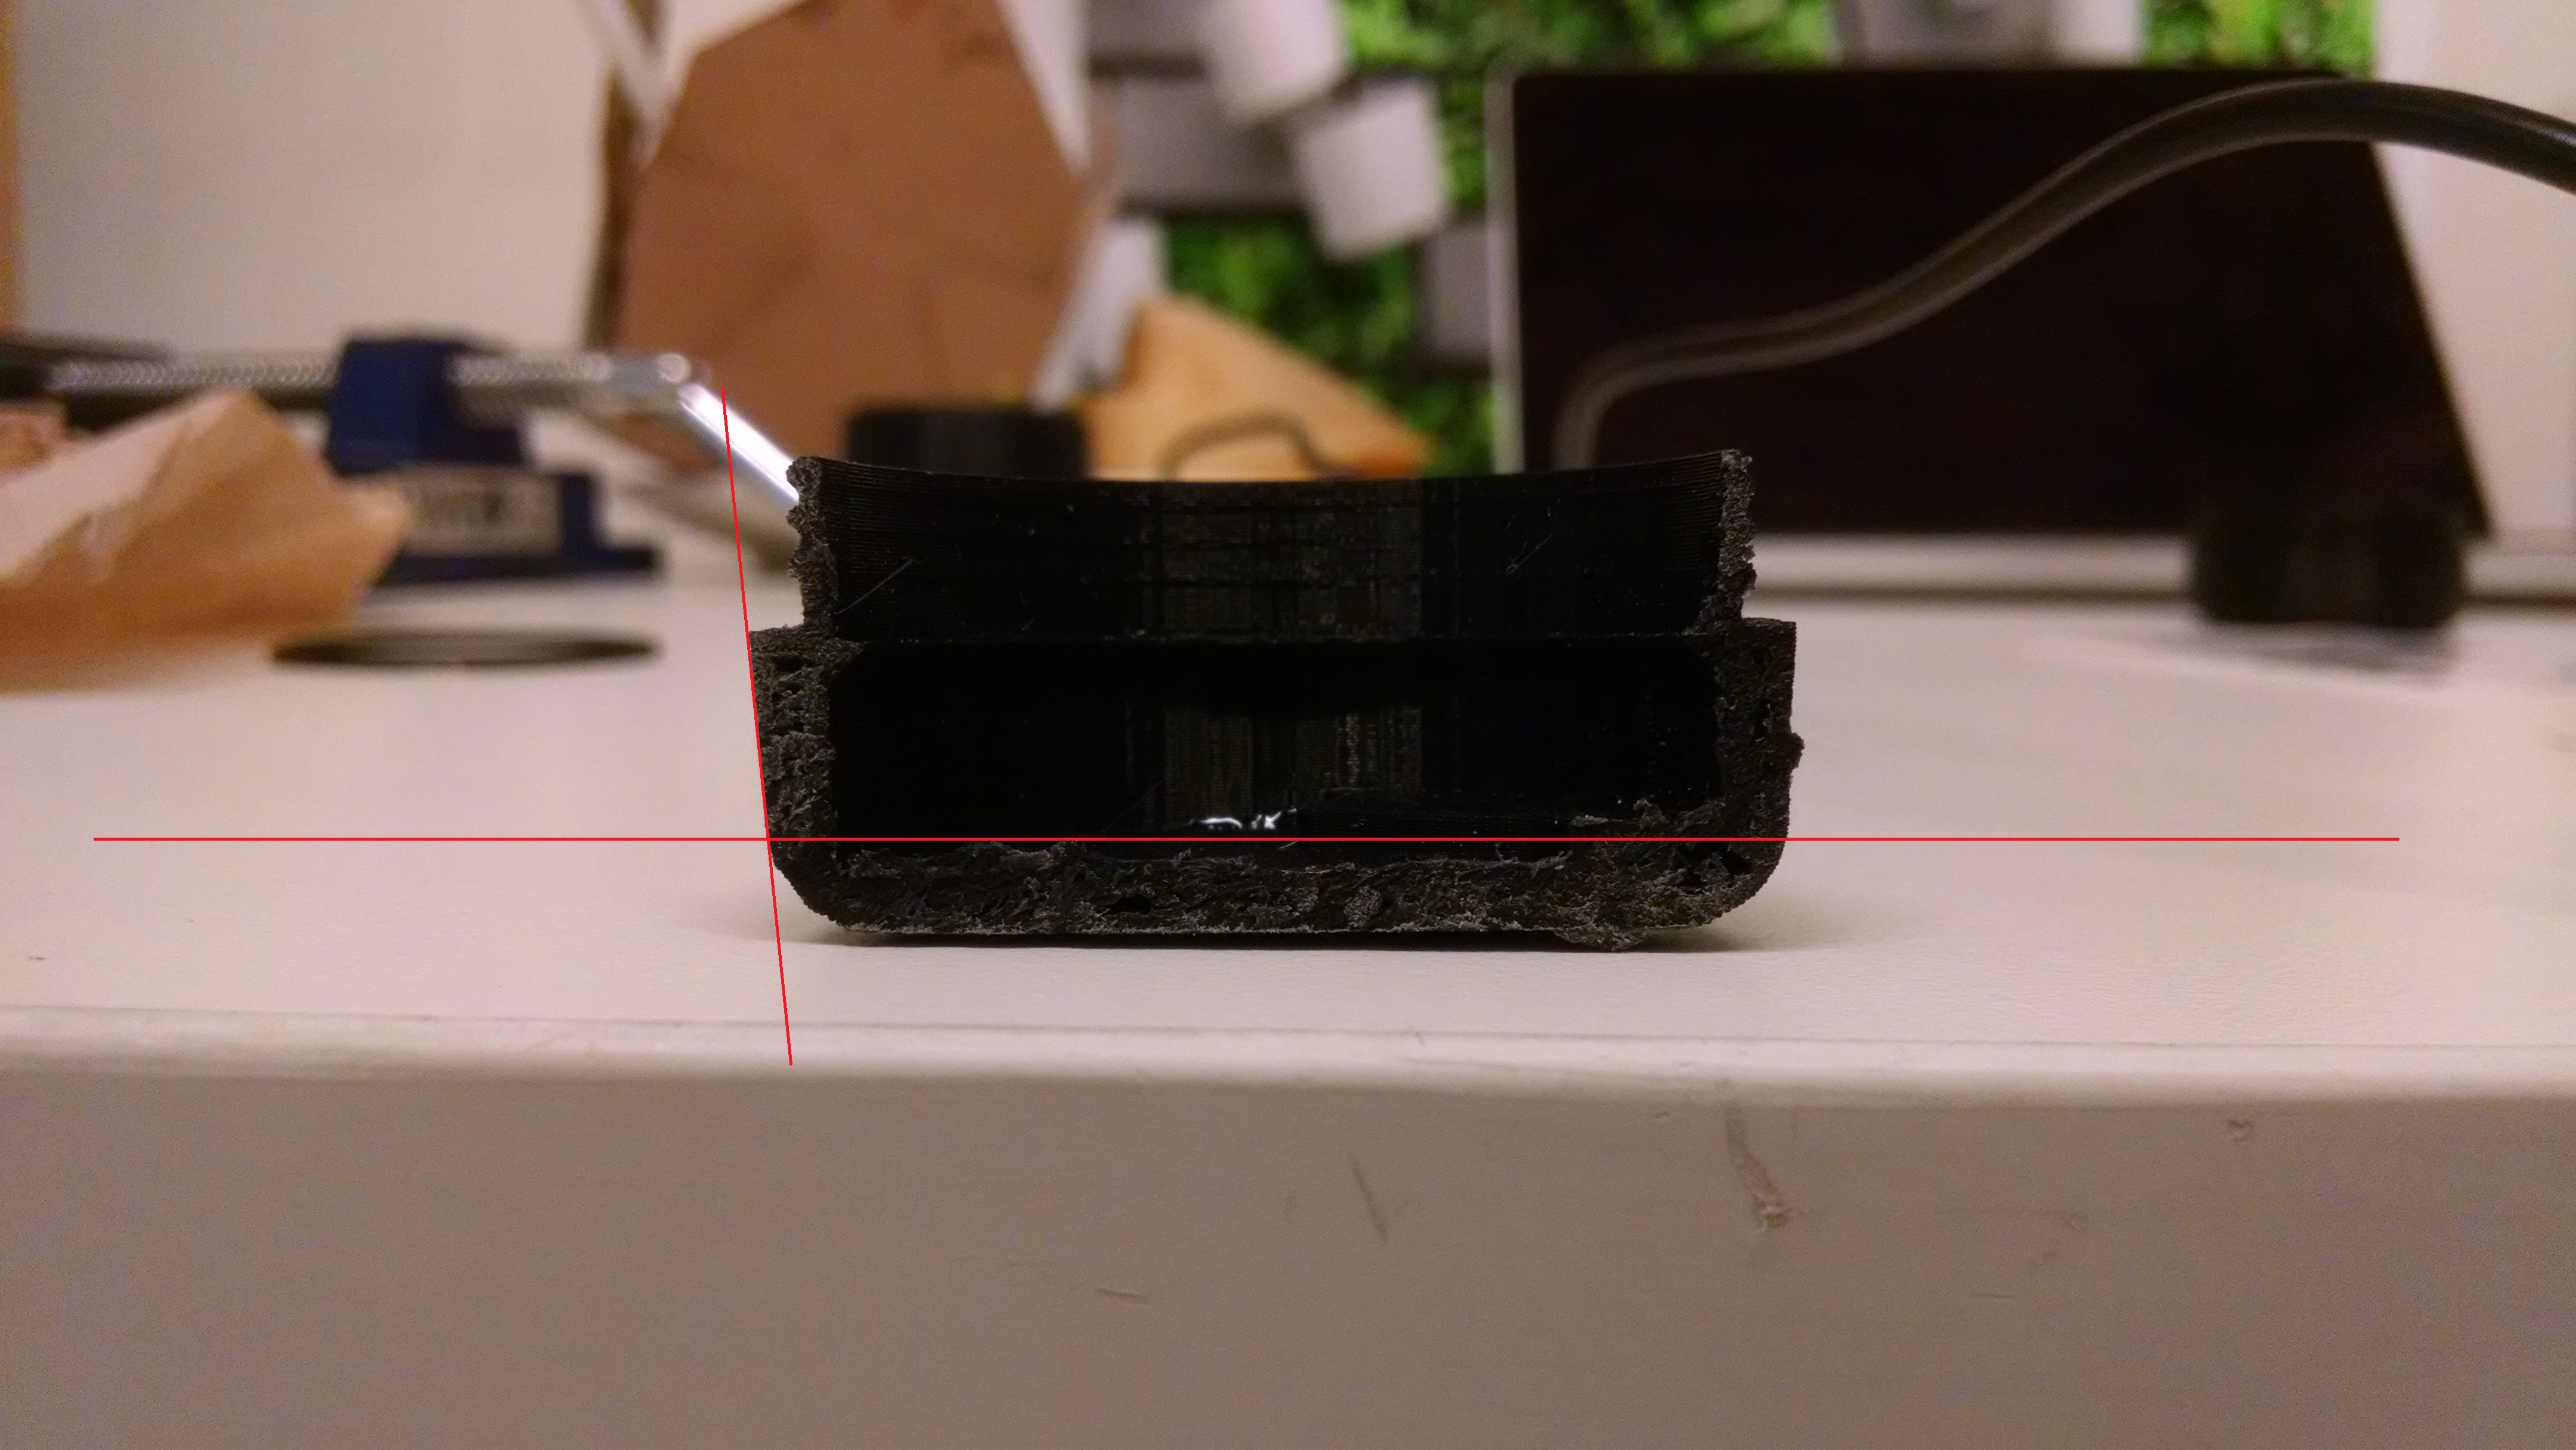
We tweaked the design some more and increased our tolerances. In addition, we did some maintenance/tuning to the 3D printer–for one, we were printing at too high of a temperature, causing unecessary strands that were ugly and got trapped in the threads:
The next version was too loose, rather than too tight–we had set too large tolerances for the threads.
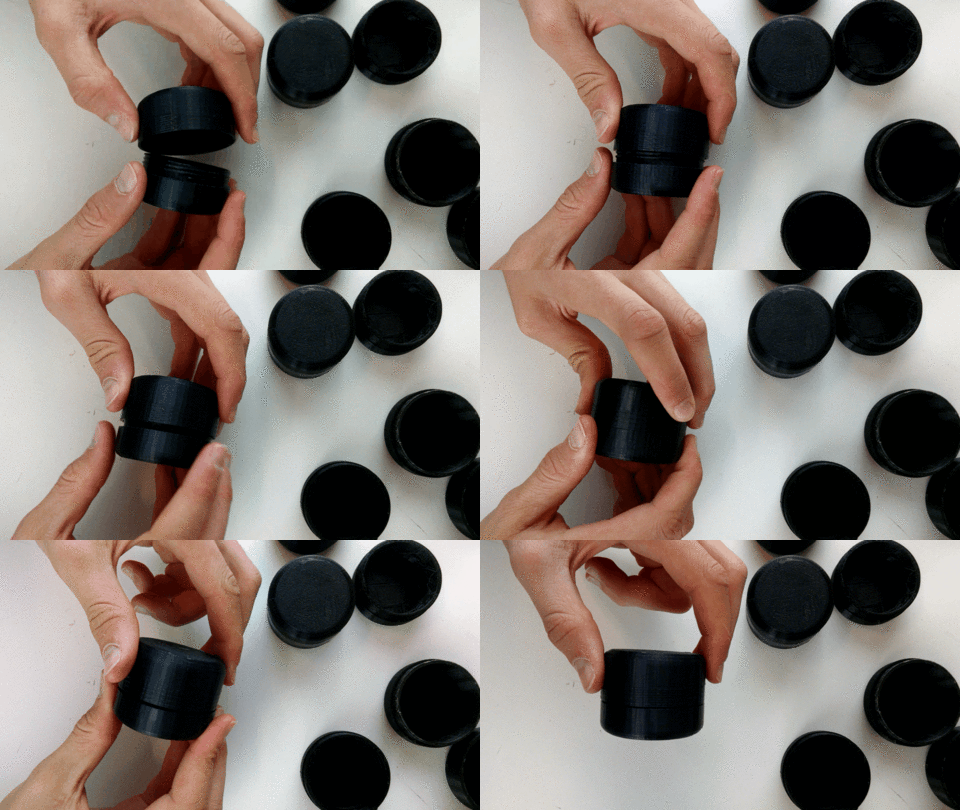
Iteration Five had tolerancing that was closer to what we wanted, and was nearly watertight. But to further ensure the case stays waterproof, we added an O-Ring to the junction between the two components. The O-Ring is a rubber ring that compresses when the two components are screwed together, forming a seal that should resist water and other chemicals.
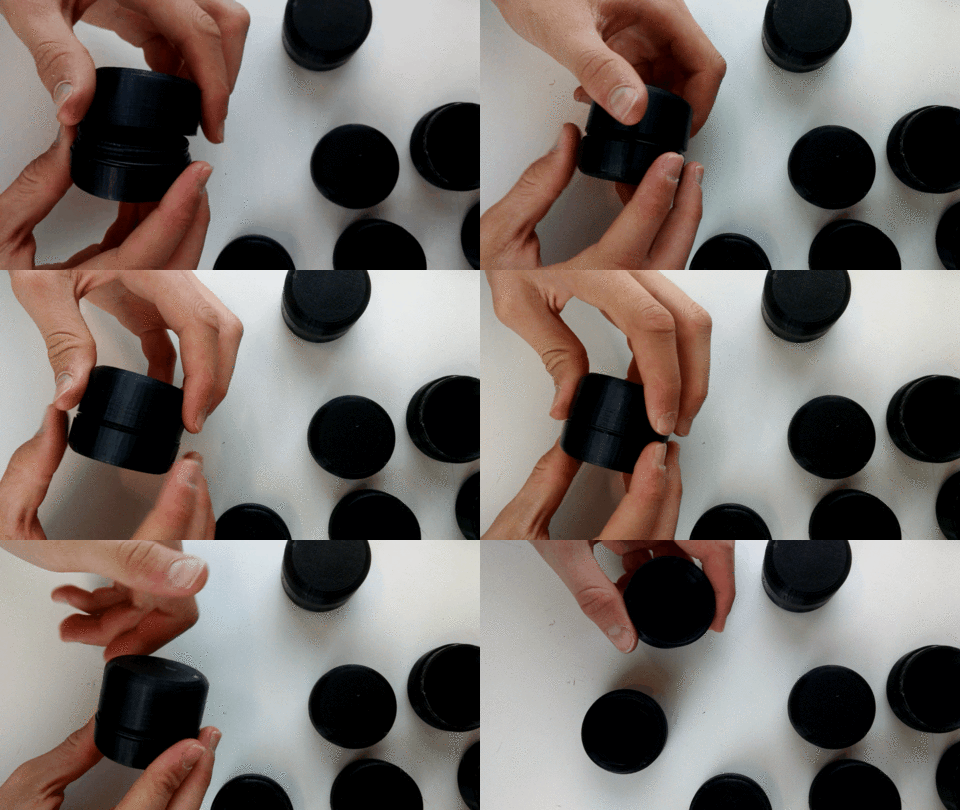
To allow for better compression between the male and female components of the case, we angled the outsides of each part outward to increase the surface area of case that’s pressing on the O-Ring.
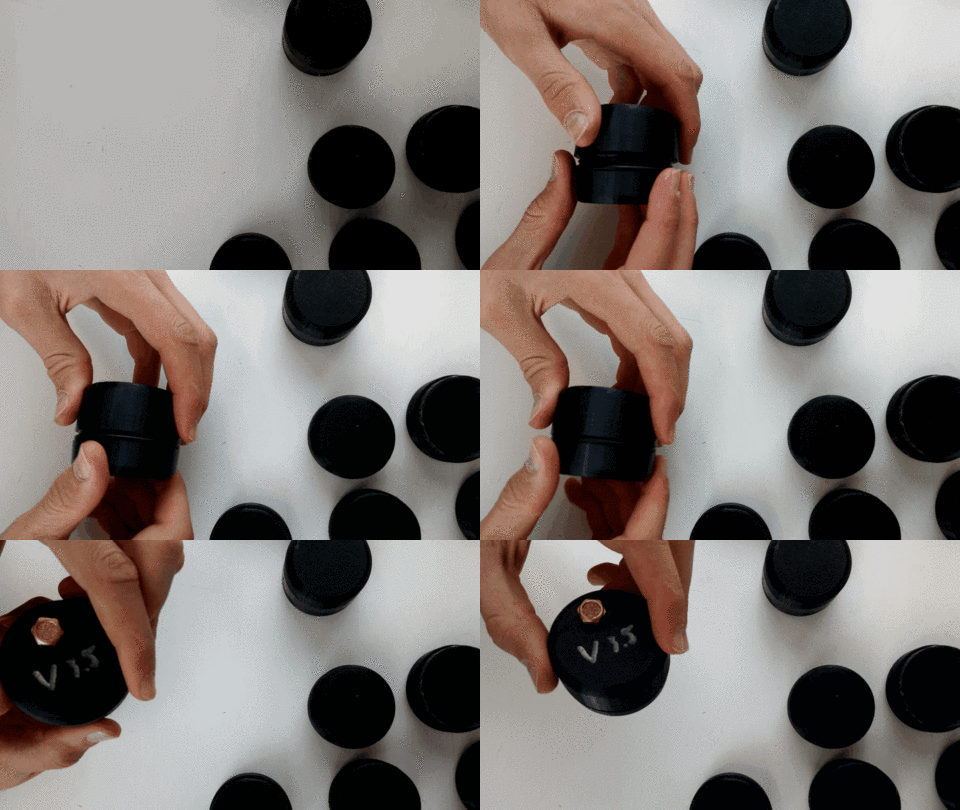
Eventually, we ended up with this:
We’re also striking a balance between filament use and wall thickness in our parts; they’re designed to be as thin as possible (to minimzie material usage) while still remaining strong and impermeable to fluids. It’s yet another design tradeoff: working out the precise balance between two competing constraints.
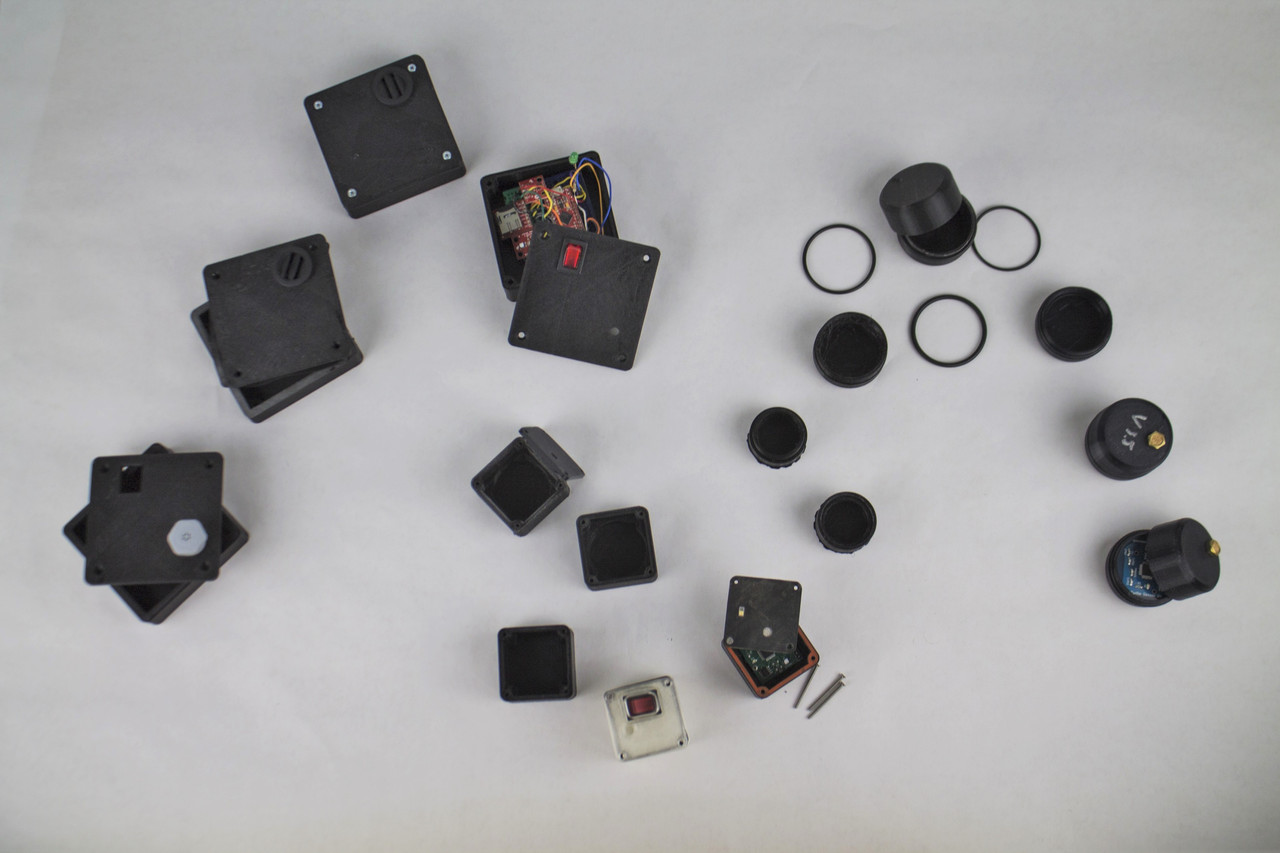
To conclude, we’ve made a lot of prototypes. They’ve grown, shrunk, had varying levels of waterproofing and strength, and represented different design choices and philosophies that have changed over the process. Chronologically from left to right, we photographed our prototyping journey:
P.S. A heads up: when you export from SolidWorks to an STL, be aware that you can change the resolution of your export (increase or decrease triangle count, etc.). We didn’t realize this until later on, but it can actually makes your prints smoother.